Saturday 30 April 2011

Cerita

Menulis
Sekedar iseng saja.. lagi pengen nulis...
Dulu seperti ini...
kemaren adalah history
Sekarang adalah Reality
Besok adalah Mistery...

Foto Perbaikan Tower..


Foto STO Plered


Masih banyak kegiatan lain :
STO Karawang
Gedung DPRD Purwakarta
Masjid Dekat Rel Kereta
Makan Bakso
Munggahan Ramadhan
Situ Buled
Curug
Kosan mbah gandrong... hehe ^-^
Kantor Direktur....
STO PWK
SISKA
STO Cikampek
Makan Warteg
Jalan-jalan ke sekolah


Mungkin ada tambahan dari yang lain.. ^-^

Sunday 17 April 2011

Install dan konfigurasi DNS, BIND9

Install terlebih dahulu paket DNS
- apt-get install bind9

kemudian ikuti langkah berikut

1. gedit /etc/network/interfaces


auto lo
iface lo inet loopback

auto eth0
iface eth0 inet static
address 192.168.1.100
netmask 255.255.255.0
gateway 192.168.1.1


2. gedit /etc/bind/named.conf.local


//
// Do any local configuration here
//

// Consider adding the 1918 zones here, if they are not used in your
// organization
//include "/etc/bind/zones.rfc1918";


zone "abdul.com"
{

type master;
file "/etc/bind/db.abdul.com";
};

zone "1.168.192.in-addr.arpa"
{
type master;
file "/etc/bind/db.192";
};


3. gedit /etc/bind/named.conf.options


options {
directory "/var/cache/bind";

// If there is a firewall between you and nameservers you want
// to talk to, you may need to fix the firewall to allow multiple
// ports to talk.  See http://www.kb.cert.org/vuls/id/800113

// If your ISP provided one or more IP addresses for stable
// nameservers, you probably want to use them as forwarders.
// Uncomment the following block, and insert the addresses replacing
// the all-0's placeholder.

forwarders {
192.168.1.100;
};

auth-nxdomain no;    # conform to RFC1035
listen-on-v6 { any; };
};


4. cp /etc/bind/db.local  /etc/bind/db.abdul.com

5. cp /etc/bind/db.127   /etc/bind/db.192

6. gedit /etc/bind/db.abdul.com


;
; BIND data file for local loopback interface
;
$TTL 604800
@ IN SOA abdul.com. root.abdul.com. (
     2 ; Serial
604800 ; Refresh
 86400 ; Retry
2419200 ; Expire
604800 ) ; Negative Cache TTL
;
@ IN NS abdul.com.
IN A 192.168.1.100
www IN A 192.168.1.100
ftp IN CNAME abdul.com.
mail IN A 192.168.1.100


7. gedit /etc/bind/db.192

;
; BIND reverse data file for local loopback interface
;
$TTL 604800
@ IN SOA abdul.com. root.abdul.com. (
     1 ; Serial
604800 ; Refresh
 86400 ; Retry
2419200 ; Expire
604800 ) ; Negative Cache TTL
;
IN NS abdul.com.
100 IN A abdul.com.
100 IN PTR abdul.com.
100 IN PTR mail.abdul.com.


8. gedit /etc/hosts


127.0.0.1 localhost
192.168.1.100 abdul.com abdul

# The following lines are desirable for IPv6 capable hosts
::1     localhost ip6-localhost ip6-loopback
fe00::0 ip6-localnet
ff00::0 ip6-mcastprefix
ff02::1 ip6-allnodes
ff02::2 ip6-allrouters
ff02::3 ip6-allhosts


9. gedit /etc/resolv.conf

# Generated by NetworkManager
nameserver 192.168.1.100
domain abdul.com
search abdul.com

10. restart dns system nya...

ok.. selamat mencoba..

Menambahkan Modul bahasa Indonesia Ecommerce 2.2 RC.2

Menambahkan Modul bahasa Indonesia Ecommerce 2.2 RC.2
1.      Estrak terlebih dahulu file bahasa Indonesia.rar
2.      Kemudian coppy dan paste file yang  telah di estrak.
Dalam file estrak : catalog/include/languange

3.      Kemudian file folder Indonesia dan Indonesia.php yang di atas di copy ke htdocs /toko/include/language


4.      Kemudian buka browser dan masuk ke halaman admin kemudian pilih Localizationàlanguage


5.      Kemudian klik “ New Language”


Nama               : indonesia
Code                : id
Images             : icon.gif
Directory         : Indonesia      
Sort order         : 1

Kemudian klik insert

 6.      Maka akan tampilan sebagai berikut


7.      Kemudian refresh websitenya dan pilih language Indonesia


Jika tampil yang seperti ini…
Harap untuk membersihkan di halaman admin ..
Toolsàdefinie languageà kemudian cari index.php lalu delete file yang text seperti tutorial yang dulu
8.      Setelah di refresh lagi kemudian website akan kembali seperti ini
file dapat di download di http://downloadfile.site90.net/

Saturday 16 April 2011

Memperbaiki Oscommerce part 2 ( Install)

Memperbaiki Oscommerce part 2

Langsung untuk berikut caranya :
1.      Masuk ke halaman admin pada web browsernya ..
Masukan username dan passowrdnya.


2.      Kemudian pilih toolsàdefine language cari file index.php


3.      Jika sudah ketemu klik file index.php


4.      Kemudian hapus bagian yang seperti ini..


This is a default setup of osCommerce Online Merchant. Products shown are for demonstrational purposes. Any products purchased will not be delivered nor will the customer be billed. Any information seen on these products is to be treated as fictional.
' . tep_image(DIR_WS_IMAGES . 'default/1.gif') . 'Error Messages

If there are any error or warning messages shown above, please correct them first before proceeding.

Error messages are displayed at the very top of the page with a complete background color.

Several checks are performed to ensure a healthy setup of your online store - these checks can be disabled by editing the appropriate parameters at the bottom of the includes/application_top.php file.
' . tep_image(DIR_WS_IMAGES . 'default/2.gif') . 'Editing Page Texts

The text shown here can be modified in the following file, on each language basis:

[path to catalog]/includes/languages/' . $language . '/' . FILENAME_DEFAULT . '

That file can be edited manually, or via the Administration Tool with the Languages->' . ucfirst($language) . '->Define or Tools->File Manager modules.

The text is set in the following manner:

define(\'TEXT_MAIN\', \'This is a default setup of the osCommerce project...\');

The text highlighted in green may be modified - it is important to keep the define() of the TEXT_MAIN keyword. To remove the text for TEXT_MAIN completely, the following example is used where only two single quote characters exist:

define(\'TEXT_MAIN\', \'\');

More information concerning the PHP define() function can be read here.
' . tep_image(DIR_WS_IMAGES . 'default/3.gif') . 'Online Documentation

Online documentation can be read at the osCommerce Knowledge Base site.

Support is available at the osCommerce Support Site.

If you wish to download the solution powering this shop, or if you wish to contribute to the osCommerce project, please visit the support site of osCommerce. This shop is running on ' . PROJECT_VERSION . '.');

define('TABLE_HEADING_NEW_PRODUCTS', 'New Products For %s');
define('TABLE_HEADING_UPCOMING_PRODUCTS', 'Upcoming Products');
define('TABLE_HEADING_DATE_EXPECTED', 'Date Expected.

5.      Kemudian nantinya file index.php akan seperti ini :


6.      Kemudian refresh website nya.


Memperbaiki Oscommerce Setelah di Install ( Error Warning)


Berikut langkah langkah nya :
1.      Ada tanda meraha yang diatas merupakan warning yang harus kita perbaiki.
a.      Warning Warning: Installation directory exists at: C:/xampp/htdocs/tokoku/catalog/install. Please remove this directory for security reasons.
b.      Warning Warning: I am able to write to the configuration file: C:/xampp/htdocs/tokoku/catalog/includes/configure.php. This is a potential security risk - please set the right user permissions on this file.
2.      Cara memperbaiki “ Warning Warning: Installation directory exists at: C:/xampp/htdocs/tokoku/catalog/install. Please remove this directory for security reasons.”
Adalah dengan meremove folder install yang ada di C:/xampp/htdocs/tokoku/catalog/


 3.      Untuk mehilangkan “Warning Warning: I am able to write to the configuration file: C:/xampp/htdocs/tokoku/catalog/includes/configure.php. This is a potential security risk - please set the right user permissions on this file.”
Adalah denga memcari file configure.php yang terletak di C:/xampp/htdocs/tokoku/catalog/includes/ : kemudian klik kananàpropertiesàCentang readonlyàok


4.      Kemudian refresh website toko online nya.. maka tidak ada warning lagi


Tutorial OScommerce 2.2 RC.2 dan xampp 1.6.5 atau xampp 1.6.7


 Berikut cara installasinya :
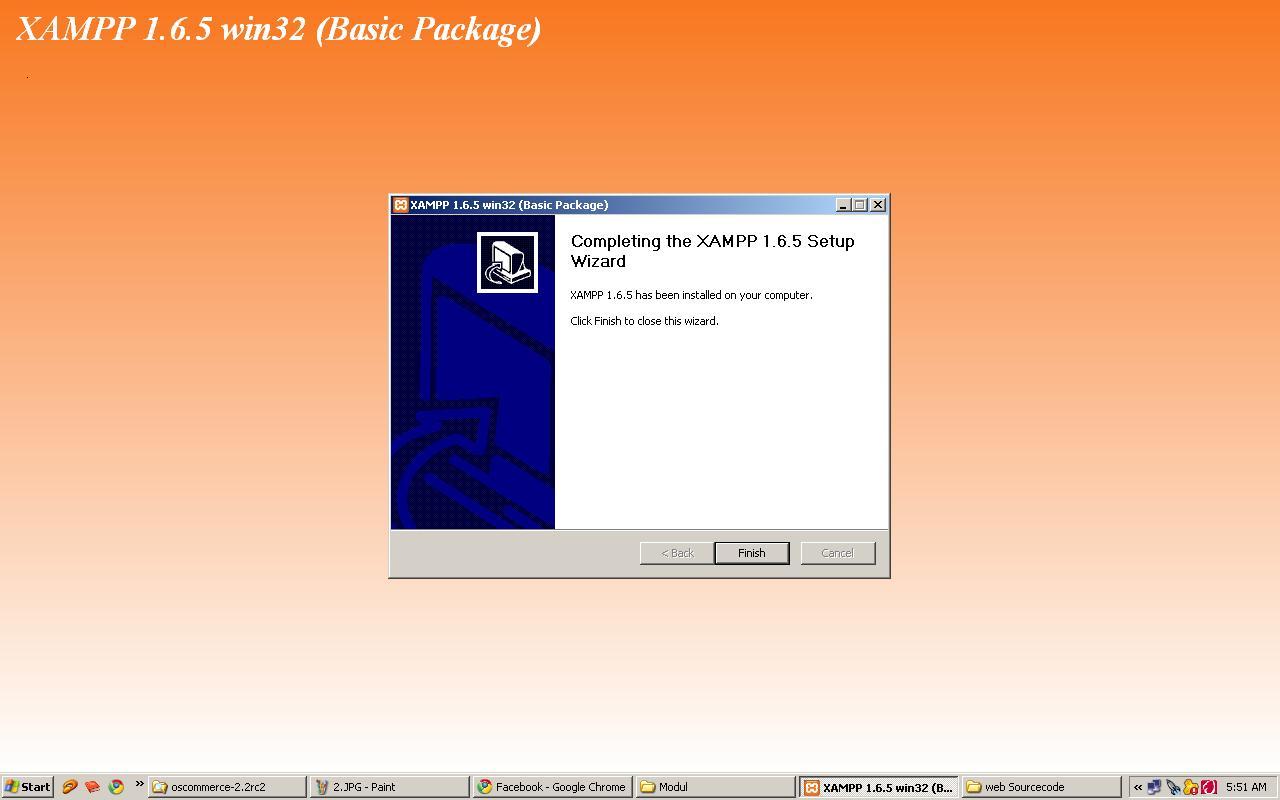
1.      Start program xampp terlebih dahulu


2.      Create folder baru di drive C: xampp/htdocs
Misal disini membuat folder dengan nama “tokoku”

3.      Extrak file Oscommerce 2.2 RC.2. rar
4.      Sehingaa hasilnya : terdapat folder yang bertanda merah


5.      Coppy dan paste folder catalog, kemudian masukana ke htdocs tokonya..


6.      Kemudian buka browsernya : ketikan http://localhost/namafolder yang di create di htdocs
Contoh : http://localhost/tokoku/catalog


7.      Maka nantinya akan tampil seperti ini.. tinggal klik “ Continue” saja…


8.      Kemudian tampil seperti ini, sebelum mengisi tampilan yang ini, terlebih dahulu mengcreate database


9.      Create database
Ketik di browser : http://localhost/phpmyadmin, maka tampilan seperti ini.
Isi pada form “Create New Database”--- Nama database yang akan dibuat --- kemudian lansung klik create.


10.  Kemudian kembali ke install Oscommercenya


Databse server : localhost
Username        : root
Password         :  dikosongkan saja
Databasename : tokoku1 ( sesuaikan nama database yang telah di buat sebelumnya)
Kemudian next
11.  Maka akan tampil sebagai berikut, pilih continue saja


12.  Maka akan tampil form berikut :


Store Name                  : Nama Toko
Store Owner Name      : Pemilik Toko
Store email                   : Email dari took
Administator                : username ( untuk halaman login admin)
Administator password            : password ( untuk halaman login admin)
Kemudian “ Continue”

13.  Maka tampilan instalassi Oscommerce 2.2 RC.2 sudah selesai

INSTALL PROGRAM XAMPP


1.      Langsung klik 2 kali master program XAMPP

2.      Kemudian next saja
3.      Kemudian next setelah gambar ini

4.      Sedang proses install

5.      Dalam proses installasi ketika ada confirm.. pilih saja “ YES”…


6.      Pilih saja no.
7.